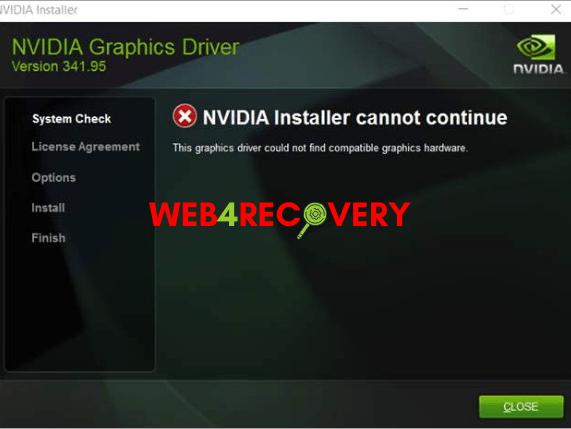
The conflict between NVIDIA Graphics Card driver and Windows is not new. Moreover, if the NVIDIA Installer Cannot Continue error occurs while installing the NVIDIA Installer, then no need surprised. It is something that most of the user faces while installing the NVIDIA Graphics Card driver.
So, to solve NVIDIA Installer Cannot Continue error, there are various methods present that will resolve the issue or problem by following the several steps and instructions. Therefore most of the ways are mention below to solve the issue.
How to Fix NVIDIA Installer Cannot Continue Error
Method 1 – Update Drivers and Enable Graphic Cards
If none of the methods works then, you can update the NVIDIA drivers which will most probably fix NVIDIA Installer Cannot Continue error problem. So to update NVIDIA Graphics Card Drivers here are the following steps:
Step 1: Firstly press the Window + X key combination.
Step 2: Then click on the Device Manager from the list that appears. Alternatively, you can click on the Start button then in the search bar type “Device Manager” and straight away click on the Device Manager that appears which will open the Device Manager tool.
Step 3: After that, search for the Display Adapter option. To expand its options, click on it.
Step 4: Now look for the NVIDIA Graphics card option in the expanded items.
Step 5: Then select the Uninstall Device Software option present in the context menu, after right-clicking on the NVIDIA Graphics card option.
Step 6: Now restart your system.
Step 7: After restarting the PC open Device Manager again and expand Display Adapters.
Step 8: Now right-click and update NVIDIA GeForce GTX 960 driver.
Step 9: After that, a new Update Drivers Windows will open.
Step 10: Then click on the Search automatically for updated driver software option in the Window.
Step 11: Now, to update the NVIDIA Graphics Card driver, follow the installation instructions that appear on the screen.
Step 12: Then Restart your system after the installation of the driver is completed.
Step 13: Then try to install the NVIDIA Graphics Card and checks whether the error shows up or not.
However, there are chances that the NVIDIA Graphics Card driver might be disabled. So to fix the problem, check whether the NVIDIA driver is disabled or not by going to the Device Manager. If yes, then enable it by following the steps given below:
Step 1: Firstly press the Window + X key combination.
Step 2: Now look for the Device Manager, which is present in the menu bar that appears on the screen and clicks on it.
Step 3: Then search for the Display Adapters in the Device Manager window that opens.
Step 4: Now, to expand its clicks on it.
Step 5: Look for the NVIDIA Graphics Card driver in the expanded list and right-click on it.
Step 6: Now check if the Enable option is available in the right-click menu. If it’s present, it clearly shows that the NVIDIA Graphics Card driver is disabled.
Step 7: After that, click on the enable option and restart the system.
Step 8: Then install the NVIDIA Graphics Card and check whether the NVIDIA Installer Cannot Continue error is resolved or not.
More Posts:
Method 2 – End All NVIDIA Processes From the Task Manager
Now here’s another method to resolve the NVIDIA Installer Cannot Continue error. However, you need to re-run the installation after ending all the NVIDIA processes from the Task Manager. So follow the steps to kill the NVIDIA process and resolve the issue:
Step 1: Firstly, open the start menu and then type Taskmgr. In the search bar of the start menu.
Step 2: Now click on the Task Manager.
Step 3: Then, in the process tab, search for the NVIDIA processes and right-click on each of it.
Step 4: Now click on the End Task option to stop the ongoing NVIDIA processes.
Step 5: After that re-run the installation of the Graphics Card and check whether the issue is resolved or not.
Method 3 – Disable Antivirus and Firewall
At times, the interruption of the Antivirus Software can cause hindrance in the installation of the NVIDIA Graphics Card. Moreover, the possibility of disturbance through Antivirus is very less. Still, if happens one must try to disable Antivirus or Malware when the problem of NVIDIA Installer Cannot Continue error appears.
One must go to the System Tray on the PC to find the Antivirus or Malware running on the PC, and from there the Antivirus can be disabled. Here are the following steps:
Step 1: Firstly open the Start menu and then type Taskmgr.
Step 2: Then, from the search result, click on the Task Manager option.
Step 3: Now look for the running services if the Antivirus by going to the Processes tab.
Step 4: After that, click on the End Process button after selecting the Service.
Step 5: Then restart the PC and again install the NVIDIA Graphics Card.
Now see to it if the problem is resolved or not.
Method 4 – Add the Device ID of the Graphics Card Manually
Adding the device ID manually can be used in solving the problem or the error. Generally, it occurs while installing the NVIDIA Graphics Card driver. So to add the device ID of the Graphics Card manually here are the following steps:
Step 1: Firstly go to the start menu.
Step 2: Now, in the search bar type Control Panel. After that press the Enter key.
Step 3: After that, choose the Device Manager option from the Control panel’s displayed list.
Step 4: Then search the Display Adapters option and expand the list.
Step 5: Now right-click on the option NVIDIA Graphics Card and select the Properties option.
Step 6: Navigate the Details tab.
Step 7: Then, from the property menu, select the Hardware IDs from the list of options that are present in it.
Step 8: Now identify the Device and Vendor code of the NVIDIA Graphics Card.
Step 9: After that, enter the obtained Vendor ID and Device Id on the website and then click on the Search button.
Step 10: The vendor name and device name is achieved.
Step 11: Now install and update the latest version of NVIDIA Driver.
Step 12: Lastly restart the system and check whether the error is resolved or not.
Method 5: Remove All the Redundant Files
Most of the times, there are redundant files present in the system. Moreover, they create a problem while installing divers. To delete such files, one should uninstall all the old drivers which will help in removing these files. On the contrary, the user suggested deleting the files manually. Now check each directory and delete the following files:
C:\Windows\System32\DriverStore\FileRepository\nvdsp.inf file
C:\Windows\System32\DriverStore\FileRepository\nv_lh file
C:\Windows\System32\DriverStore\FileRepository\nvoclock file
C:\Program Files\NVIDIA Corporation\
C:\Program Files (x86)\NVIDIA Corporation\
Once you have deleted all these files, restart the system. And check if the issue is resolved or not.
More Posts:
- Windows Error Code 0x80070570
- Windows Modules Installer Worker
- Microsoft Compatibility Telemetry High CPU and Disk Usage
- Unexpected Store Exception
Final Thoughts
There are many users around the world using the NVIDIA Graphics Card and facing the same problem. However, we have discussed the solutions or methods to resolve the issue. The majority of the user claimed that the methods are efficient enough to solve the issue. So these methods help resolve the problem.


 Error")


