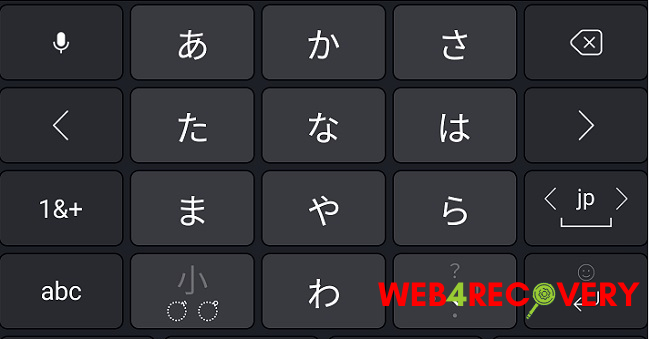
Installing a Japanese keyboard on your device allows you to type in Japanese characters, making it easier to communicate and engage with the language.
Whether you’re using Windows 10, Windows 11, Windows 7, Mac, Android, or a PC, this comprehensive guide will walk you through the process of installing a Japanese keyboard.
We’ll cover various methods, including built-in options, app downloads, virtual keyboards, and more.

Installing Japanese Keyboard on Windows 10 and 11
Windows 10 and Windows 11 provide built-in support for Japanese keyboards. Here’s how to install it:
- Open the Settings menu by pressing Win + I.
- Select Time & Language, then choose Language from the left-hand menu.
- Click on Add a language and scroll down to find Japanese.
- Click on Japanese and select the version you prefer (e.g., “日本語”).
- Click Next and follow the on-screen instructions to complete the installation.
Read Also:
Installing Japanese Keyboard on Windows 7
To install a Japanese keyboard on Windows 7, follow these steps:
- Open the Control Panel by clicking the Start button and selecting Control Panel.
- Click on Clock, Language, and Region, then select Region and Language.
- In the Keyboards and Languages tab, click on Change keyboards….
- In the General tab, click on Add….
- Scroll down and expand the Japanese (Japan) option.
- Check the box next to Microsoft IME and click OK.
- Click Apply and OK to save the changes.
Installing Japanese Keyboard on Mac
On a Mac, installing a Japanese keyboard is straightforward:
- Open System Preferences from the Apple menu.
- Click on Keyboard, then select the Input Sources tab.
- Click the + button at the bottom left to add a new input source.
- Scroll down or use the search bar to find Japanese.
- Select the desired Japanese input method (e.g., Hiragana, Katakana, Romaji).
- Click Add to add the Japanese keyboard to your input sources.
Installing Japanese Keyboard on Android
Installing a Japanese keyboard on Android requires downloading a Japanese keyboard app from the Google Play Store:
- Open the Google Play Store on your Android device.
- Search for a Japanese keyboard app, such as Google Japanese Input, Simeji, or Microsoft SwiftKey Keyboard.
- Select the desired app from the search results and tap Install.
- Follow the on-screen instructions to download and set up the Japanese keyboard app.
- Once installed, go to your device’s Settings and select Languages & input.
- Enable the installed Japanese keyboard app and set it as your default keyboard.
Installing Japanese Keyboard on PC (Virtual Keyboard)
If you prefer a virtual Japanese keyboard on your PC, you can use online tools or software:
- Open your preferred web browser and search for “Japanese virtual keyboard” or use a reliable website like Lexilogos or Branah.
- Access the virtual keyboard and click on the Japanese characters to type.
- You can copy and paste the characters into the desired application or text field.
Read Also:
- Far Cry 3 Windows 10 Won’t Launch
- Windows Defender Won’t Turn On Windows10
- This Device Cannot Start. (Code 10) Insufficient System Resources Exist to Complete the API.
Conclusion
Installing a Japanese keyboard on various devices, including Windows 10, Windows 11, Windows 7, Mac, Android, and PC, allows you to type in Japanese characters and enhance your language capabilities.
Whether you choose built-in options, app downloads, virtual keyboards, or other methods, this comprehensive guide has provided you with step-by-step instructions to install a Japanese keyboard on your preferred device.
Enjoy typing in Japanese and engaging with the language effortlessly!


