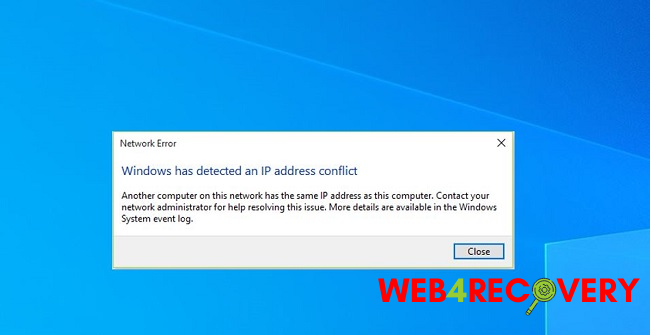
When there is a collision between IP addresses, Windows displays the “Windows Has Detected An IP Address Conflict” error message. This indicates that your device and computer share the same network and, hence, an IP address.
Windows has discovered an IP address that is the same as one used by another device, according to the error notice. Furthermore, the problem arises when the user tries to join a network.
Method 1: Initiate a Reboot of Your Network Devices
Because it employs a DHCP, an automatic IP address assignment method for networks, equipment malfunctions are a possible source of the issue. This error message is generated when the DHCP server is having problems.
An IP address that has been assigned to another device can be reassigned by the router. Therefore, if Windows has identified an IP address and you have changed it, rebooting the router will reassign the new IP address locally, solving the problem.
Method 2: Restabilize LAN Connection
Possible cause: the network adapter is interfering too much. Fixing the problem typically involves turning off and then back on the network adapter. Because of this, and before making any major modifications to the system, test this out first. Here are the measures to take to get the network adapter active again:-
- Simply enter “Control Panel” into the Start menu’s search bar.
- When in the Settings menu, navigate to the following location:
Control Panel\Network and Internet\Network and Sharing Center
3. From the menu bar, select Adapter > Change Settings.
4. Select the current adapter with a right-click, and then select “Disable.”
5. Click Enable once again after right-clicking the adaptor.
6. After that, you can try to reconnect to the faulty network to see if that helps.
Method 3: Renew Your IP Address And Allow It to Expire
Re-assigning the device IP address is another straightforward method of fixing this mistake; you only need to run some network resetting commands to free up and reassign your system’s IP address.
- You may accomplish this by selecting the Start menu and then typing “Command Prompt” into the search bar.
- Select “Run as Administrator” from the context menu of the Command Prompt.
- Launch the terminal and then paste the following commands into it, one at a time, pressing Enter after each one.
ipconfig /release
ipconfig /renew
4. After that, try reestablishing connection to the wireless network to see whether the problem persists.
Method 4: Getting Rid of Static IP Addresses
Every device that can connect to the internet has an IP address, which can be either permanently or temporarily assigned. Dynamic IP addresses are assigned automatically, while static IP addresses must be assigned by hand.
A static IP address will never change, while a dynamic IP address will alter every time a connection is established. Based on the findings, this problem is commonly encountered by users because a static IP address causes a collision with a DHCP-assigned IP.
Because of this, you’ll have to modify your network settings to get rid of the static IP address.
- Simply by pressing the Windows and R keys at the same time, you can get rid of the static IP address.
- In the search bar, enter Control Panel, then select OK.
- Please follow this link:
control Panel\Network and Internet\Network and Sharing Center
4. Right-click the current Network Adapter, then select Change Adapter Settings.
5. When you click the Properties button, a small window will pop up.
6. Seek out Transmission Control Protocol/Internet Protocol Version 4 (TCP/IPv4)
7. Once there, pick Obtain An IP Address Automatically under the Properties tab.
8. When you’re finished, select OK and see if the problem still exists.
Method 5: The Network Driver Must Be Reinstalled
If none of the above steps resolve the issue, you can try rebooting the network adapter, which will also clear the IP address and other data from the network settings.
However, if you are using a third-party network adapter, you must do so first. If that isn’t the case, skip forward to the instructions. The procedure is as follows:-
- For the Run dialogue, you can use the shortcut Windows + R.
- Simply enter devmgmt.msc into the search bar and press OK to enter.
- Then, open the Drivers submenu, expand Network Adapters, and right-click the one you’re now using.
- Select Remove, and then Windows will reinstall the software after a restart.
- Join the network again and check if the problem persists.


 Error")


