Remote desktop protocols are essential tools for managing systems or data located on different computers.
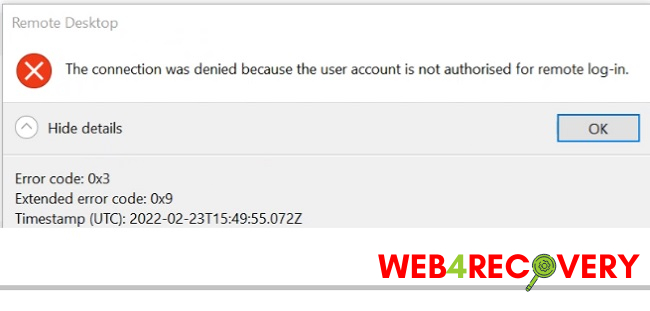
However, there might be times when you encounter an error message stating, “The Connection Was Denied Because The User Account is Not Authorized For Remote Login.” This error prevents you from accessing the remote computer.
In this article, we will delve into the causes of this issue and provide step-by-step instructions to resolve it.
Understanding the Issue
When you try to connect to a computer remotely through Remote Desktop Protocol (RDP), Windows checks if your user account has the necessary permissions to log in remotely.
If your account lacks these permissions, you will encounter the error message. In most cases, this issue is due to the lack of necessary permissions for the user account trying to establish the remote connection.
How to Fix the Issue
Follow the steps below to fix the “Connection was denied because the user account is not authorized for remote login” error.
Step 1: Assign the User to the Remote Desktop Users Group
By adding the user account to the Remote Desktop Users group, you grant it permission to log in remotely. Here’s how to do it:
- On the remote computer, open the Control Panel.
- Go to System and Security > System > Advanced system settings.
- Click on the Remote tab and select Select Users in the Remote Desktop section.
- Click Add and enter the username of the account you want to grant remote access to, then click OK.
Step 2: Modify Group Policy Settings
If the problem persists after Step 1, you might need to modify the group policy settings on the remote computer. Here’s how to do that:
- Press Windows + R, type “gpedit.msc” in the Run box, and hit Enter to open the Local Group Policy Editor.
- Navigate to Computer Configuration > Windows Settings > Security Settings > Local Policies > User Rights Assignment.
- Find and double-click on Allow log on through Remote Desktop Services.
- Click Add User or Group, enter the username, and click OK.
- Apply the changes and close the Local Group Policy Editor.
Remember to restart the remote computer to ensure the changes take effect.
Conclusion
While the error message “The Connection Was Denied Because The User Account is Not Authorized For Remote Login” might be frustrating, following these steps should help you resolve the issue.
By ensuring that your user account has the necessary permissions, you can use Remote Desktop Protocol to manage your systems effectively.


 Error")


