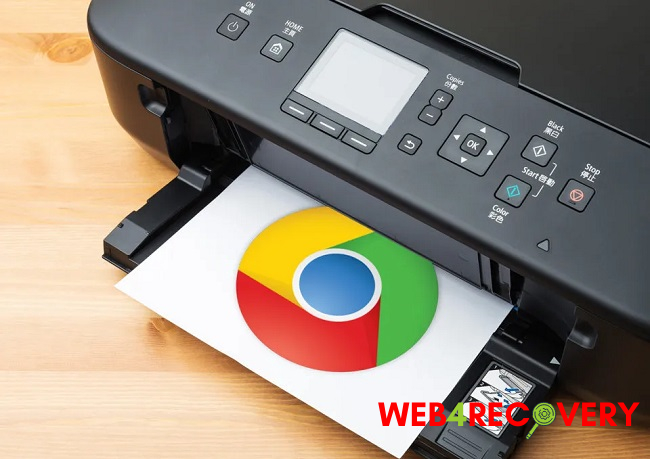
In our increasingly digital age, printing is an essential task that we can’t always avoid. And for many, the primary gateway to the online world is through Google Chrome.
This user-friendly browser is known for its smooth surfing experience, integration with Google services, and numerous customization options. Among these functions is the ability to adjust default print settings.
Whether you’re looking to change your printer, print quality, or page layout, this step-by-step guide will walk you through how to change the default print settings in Chrome, using Chrome extensions, on Windows.
Why Change Your Default Print Settings?
Before we dive into the process, it’s essential to understand why you might need to change your default print settings. Adjusting these settings can lead to several benefits, including saving paper and ink, improving print quality, and increasing printing efficiency.
Plus, with customized settings, you can avoid the hassle of manually adjusting settings every time you need to print a document.
Changing Default Print Settings in Google Chrome
Step 1: Accessing Print Settings
Firstly, to change the default print settings in Google Chrome, you need to access the settings:
- Click the three vertical dots in the upper-right corner of the Chrome browser to open the drop-down menu.
- From this menu, click on the ‘Print’ option. Alternatively, you can use the keyboard shortcut ‘Ctrl + P’ on Windows to open the print settings.
Step 2: Adjusting Settings
After you’ve accessed the print settings:
- On the print preview page, select the ‘More Settings’ option.
- Under ‘More Settings’, you will see a variety of options, including ‘Scale’, ‘Paper size’, ‘Margins’, and ‘Quality’. Adjust these settings according to your preference.
- If you want these settings to be your new default settings, click on the ‘Save as default’ button.
Remember that these settings will only apply to printing from Google Chrome and won’t affect any other programs or browsers you might use.
Using a Chrome Extension to Change Print Settings
While Chrome’s built-in settings are sufficient for many users, some may prefer more robust customization options.
This is where Chrome Extensions come in handy. An extension like ‘Print Friendly & PDF’ allows users to modify print settings and even save pages as PDFs for later use.
Step 1: Install the Extension
To install the ‘Print Friendly & PDF’ extension:
- Visit the Chrome Web Store and search for ‘Print Friendly & PDF’.
- Click the ‘Add to Chrome’ button to install it.
Step 2: Customize Settings
Once installed:
- Go to the webpage you wish to print. Click on the ‘Print Friendly & PDF’ extension icon in the top-right corner of your browser.
- A new window will open where you can customize your printing settings. You can remove images, adjust text size, and delete unwanted content.
- When you’re satisfied, click ‘Print’ to print the page according to your new settings.
Changing Default Print Settings in Windows
If you wish to adjust your default print settings for all applications on your Windows computer, you can do so through the Windows Control Panel:
- Press the Windows key + X and select ‘Control Panel’ from the menu that appears.
- Select ‘Devices and Printers’.
- Right-click on your default printer and select ‘Printing preferences’.
- From here, you can adjust settings like paper size, print quality, and color options.
- Click ‘OK’ to save these settings as your new default.
In conclusion
Changing the default print settings in Google Chrome, using Chrome extensions, or on Windows is an easy task with many benefits. By customizing these settings, you can create a more efficient and personalized printing experience.
Whether you frequently print web pages or simply need to print a document occasionally, the steps above should help you make the process as smooth as possible. Happy printing!


 Error")


