Samsung builds its own user interface on top of Android and includes its own versions of essential apps like Messages, the Web browser, the Settings menu, and so on. The IP Multimedia SubSystem is a set of design guidelines for providing end-users with multimedia content.
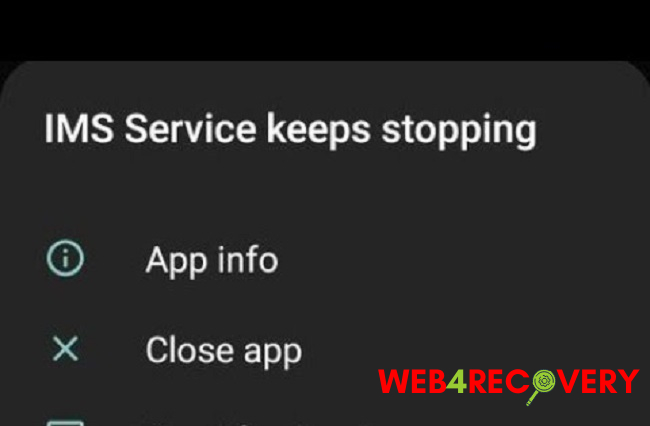
Recently, there have been numerous instances of users suddenly (and sometimes in the middle of a call or message) seeing the “IMS Service Has Stopped” sign on their screens.
Method 1: Finding the Latest Software Releases
It’s likely that an issue arose in the Android software or the Manufacturer’s UI built on top of the OS, and that this issue was addressed in a subsequent version. So, let’s see if there are any new mobile app upgrades available to install. In light of this:
Step 1: Turn off the lock and go into your phone’s configurations.
Step 2: Tap “About Phone” at the very bottom of the screen.
Step 3: Select “Software Updates” and then “Check for Updates” to look for new versions of the programme.
Step 4: After the scan is complete, a “Download Now” button will display if an updated version of the software is available.
Step 5: When the phone is done downloading the update, you’ll be asked to confirm the installation of the update; tap “Yes,” and the phone will reboot.
Step 6: After the update has been applied and the phone has restarted into normal mode, you may see if the problem has been resolved.
Method 2: Seeking New Versions of The Apps
Outdated software might cause problems with the system and other programmes. As a result, at this phase, we will be looking for app updates in the Google Play Store. Due to this:
Step 1: To access the Google Play Store, please unlock your device.
Step 2: Choose “My Apps & Games” from the menu that appears.
Step 3: Select the “Refresh” button under the “Updates” menu.
Step 4: When you’re ready, select “Update All” and sit tight as the software is upgraded and reinstalled.
Step 5: Inquire further about the issue’s continued existence.
Method 3: Modifying the Structure of Messages
It’s conceivable that the messaging app is malfunctioning due to interference from the network carrier’s setup settings. To proceed, we will now disable the carrier’s network options under the messaging app. That’s why:
As for AT&T:
Step 1: Launch your OS’s built-in chat programme.
Step 2: You can access the settings by clicking the menu button in the upper right corner.
Step 3: Disabling synchronisation may be done by going to “AT&T Messages Backup & Sync” and clicking the “Disable the Sync” button.
Step 4: It could be helpful to restart the mobile device and determine whether the problem still exists.
In order to have a conversation that is “rich,”
Step 1: Launch your default messaging app of choice and select options from the menu that appears.
Step 2: Choose “Settings” and then “Chat Settings” from the menu.
Step 3: To disable Rich Communications, go to the “Rich Communications Settings” menu.
Step 4: Try powering down and then back up your phone to determine if the problem still exists.
Method 4: Attempting Safe Mode Startup
When the phone is put into safe mode, all but the factory-installed app are disabled. As a result, the problem can be isolated to just the default messaging app. So, let’s start by booting the gadget up in Safe Mode. That’s why:
Step 1: To turn off the device, just press the power button and choose the appropriate option.
Step 2: After powering down entirely, press and hold the power button for 2 seconds to restart the device.
Step 3: Keep the volume down button depressed until the Samsung logo animation appears.
Step 4: If everything went well, “Safe Mode” should appear in the bottom left corner of the screen.
Step 5: Verify if the problem still exists, and if it does, try uninstalling one or more third-party applications one at a time to see whether the notice reappears.
Step 6: You can repeat this step until the issue is resolved by uninstalling the offending Programme.


 Error")


