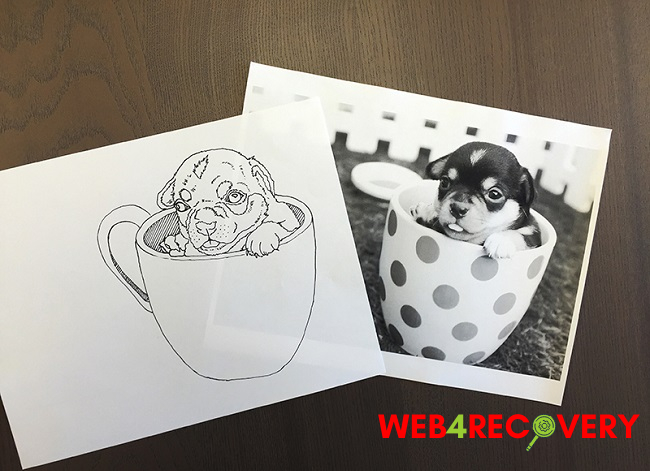
Vectorizing an image can enhance its quality by transforming it from a pixel-based format to a more scalable vector format.
This process is essential for maintaining the sharpness of an image when it’s resized, particularly for design tasks.
In this article, we’ll guide you through the process of vectorizing an image in Illustrator, Photoshop, on the iPad, and even from Procreate. We’ll also recommend a free tool for vectorizing images.

Vectorizing an Image in Illustrator
Adobe Illustrator is one of the most popular tools for vectorizing images due to its advanced vector graphics capabilities. Here’s a step-by-step guide:
- Open the Image: Navigate to File > Open and select the image you want to vectorize.
- Create a New Layer: Go to the Layers panel and click the “Create New Layer” button.
- Activate Image Trace: Select your image, navigate to the top of the screen, and click on “Image Trace”.
- Adjust the Details: Use the options in the Image Trace panel to adjust the level of detail and the number of colors.
- Expand the Image: Once satisfied with your adjustments, click “Expand” to convert the image into a vector.
Vectorizing an Image in Photoshop
While Photoshop is not primarily a vector tool, it can still be used to create simple vector graphics from images. Here’s how:
- Open the Image: Navigate to File > Open and choose your image.
- Select the Image: Use the Quick Selection Tool from the toolbar to select the part of the image you want to vectorize.
- Create Work Path: Go to the Paths tab and click on the “Make work path from selection” button at the bottom of the panel.
- Export Paths: Navigate to File > Export > Paths to Illustrator, then save your file.
Vectorizing Images for Free
There are numerous free online tools for vectorizing images. One reliable option is the website Vector Magic. Here’s how to use it:
- Upload the Image: Click on the “Upload Image To Trace” button and select your image.
- Choose Settings: Select the desired level of detail and color options, then click on “Start”.
- Download the Image: After the process is complete, download your vectorized image. Note that you may need to create a free account to access your download.
Vectorizing an Image in Illustrator on the iPad
Illustrator is also available on the iPad and can vectorize images with similar steps as the desktop version:
- Open the Image: Tap on the Import icon and choose your image.
- Image Trace: Select your image and tap on the Image Trace button.
- Adjust the Details: Use the slider to adjust the level of detail.
- Expand the Image: Tap on the Expand button to convert the image into a vector.
Vectorizing Images from Procreate
If you’ve created an image in Procreate, you can export it as a PDF and then import it into Illustrator for vectorization:
- Export from Procreate: Share your artwork from Procreate as a PDF.
- Open in Illustrator: Open the PDF in Illustrator.
- Image Trace: Select the image and click on Image Trace, then adjust the settings as required.
Conclusion
Regardless of the tool you’re using, vectorizing an image is an essential skill for preserving image quality during resizing. Whether you’re using a premium tool like Illustrator or a free online service like Vector Magic, understanding how to effectively vectorize images will significantly enhance


