Microsoft Word is a versatile word processing tool that allows you to create visually appealing documents by incorporating images.
However, arranging pictures in Word can sometimes be challenging, especially when you want to move them freely without affecting the surrounding text.
In this comprehensive guide, we will explore how to move pictures freely in Microsoft Word online on Mac, while keeping the text in place.
Moving Pictures Freely in Microsoft Word Online on Mac
To move pictures freely in Microsoft Word online on your Mac, follow these steps:
- Open Microsoft Word Online: Launch your web browser and go to the Microsoft Word Online website (office.com).
- Sign In: Sign in to your Microsoft account or create a new one if you don’t have an account already.
- Create or Open a Document: Create a new document or open an existing one by clicking on the “New Blank Document” option or selecting a document from the list of recent files.
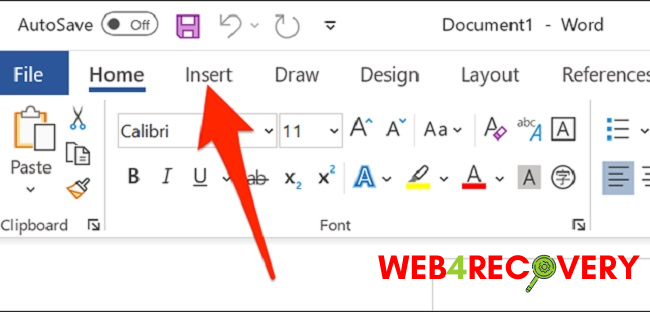
- Insert the Picture: Click on the location in the document where you want to insert the picture. Then, go to the “Insert” tab in the top menu and click on the “Pictures” option. Select the desired picture from your computer and click “Insert” to add it to the document.
- Resize and Position the Picture: Click on the picture to select it. You will notice small sizing handles around the edges. Click and drag these handles to resize the picture as desired. To freely move the picture without affecting the text, click and hold on the picture, then drag it to the desired location in the document. You can position the picture anywhere, even overlapping text if desired.
- Wrap Text: By default, Word will set the picture’s text wrapping to “In line with text,” which allows the picture to move with the text. To change the text wrapping, click on the picture, go to the “Format” tab in the top menu, and click on the “Wrap Text” button. Choose the desired wrapping option such as “Square,” “Tight,” or “Behind Text.” This will allow you to freely move the picture without affecting the text layout.
- Adjust Text Alignment: If you want the text to align differently around the picture, select the picture, go to the “Format” tab, and use the alignment buttons (e.g., Align Left, Align Right, Align Center) to adjust the text alignment relative to the picture.
Conclusion
Moving pictures freely in Microsoft Word Online on your Mac without disturbing the surrounding text is a useful skill for creating visually appealing documents.
By following the steps outlined in this guide, you can effortlessly position and resize images while maintaining the integrity of your document’s text.
Enhance your Word documents with beautiful visuals and showcase your creativity without compromising the layout. Happy document designing!


 Error")


