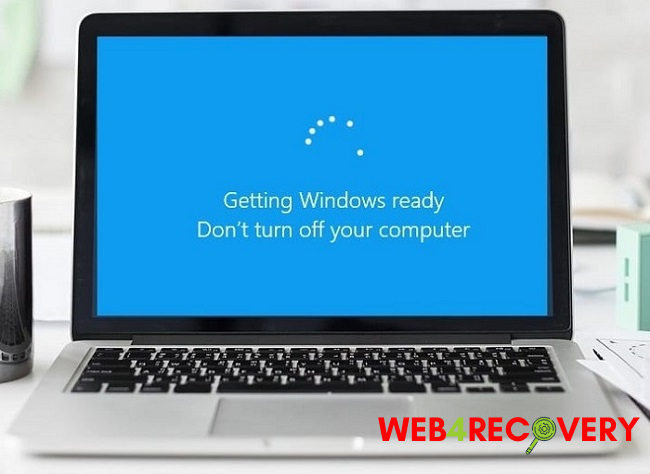
If you keep seeing “Getting Windows ready. Displaying “Don’t turn off your computer”? When shutting down, starting up, or resetting a Windows 10 or Windows 8 computer, users frequently encounter this problem.
For some users, this issue can delay their computer’s recovery by several hours.
Where Should I Start to Repair This?
When Windows 10 is upgrading itself, you may see the “Getting Windows ready” prompt. This could indicate that the updates are being downloaded or installed. If you find yourself stranded here, the first thing to do is turn off your modem or router.

Please give it a few minutes and see if the issue resolves itself.
Solution 1: Have Patience
The first order of business is to be patient. Some time is needed as the upgrades are downloaded and installed. You’ll need to wait until these processes have completed before your computer will boot normally.
However, go to the following procedures if the dreaded Getting Windows ready screen persists for more than 2 hours.
Solution 2: Perform a full system reset
To “hard reset” means to power down an operating system by using excessive force, but without corrupting any files. In the event that some of your files are corrupted, it could be useful in fixing the problem.
Use the instructions below to force a reset on your device:
Step 1. To power down the device, press and hold the power button for 30 seconds.
Step 2. Pull the plug on everything, including your pen drive, headphones, and external hard drive.
Step 3. Disconnect your laptop’s battery if you’re using it.
Step4. After that, you should press and hold the power button for another 30 seconds to completely discharge the battery.
Step 5. The power cord should be disconnected after that.
Step 6. Make sure the battery and charger cord are back where they belong. Avoid connecting any extra hardware, including USB drives.
Step 7. To test if the issue has been fixed, try restarting your computer.
Solution 3: Restart and Fix It
Attempting a Windows startup repair is your next best option if you are unable to restart your PC. The Windows Recovery Environment is where you’ll go to accomplish this (WinRE). To perform this, insert the Windows installation disc into your computer.
Select Startup Repair under the Advanced tab. However, if you see error messages like “startup repair could not repair your PC” or “automatic repair could not repair your PC,” you’ll need to try a different approach.
Solution 4: System File Checkup
Windows has a tool called the System File Checker (SFC) that can scan for and repair damaged system files.
There may be problems with the operation of your operating system or even a crash if a file necessary for Windows Resource Protection is corrupted or missing. This could also prevent updates from going smoothly.
To activate the SFC, do the following:
Step 1. Put in your Windows CD and start up your computer.
Step 2. Pick your preferred language and region. If you’re happy with this, proceed by selecting Next.
Step 3. To activate the Repair utility, select “Repair your machine.”
Step 4. To continue, select Troubleshoot from the Choose an option screen.
Step 5. Select the “Advanced” tab in the next box.
Step 6. To access the command prompt, select the button.
Put “sfc /scannow” into the command prompt. To proceed, press the Enter key.
Step 7. When done, exit the command prompt.
Step 8. The best way to find the cause of the error is to restart your computer.
Solution 5: Restore Operating System or Recover from an Image
System Restore allows you to roll back your operating system to an earlier point in time. You can do this by using a backup file, or a restore point, that you have already made. When you are stuck in your system, you can execute a recovery by following these steps:
Type “Microsoft Media Creation Tool” into the Google search bar. Select the appropriate outcome by clicking on it.
Step 1. Get the Microsoft Movie and TV Creation Kit here.
Step 2. Get it set up and make Windows installation discs. It could be a CD or a USB disc.
Step 3. To begin the installation process, insert the installation disc.
Step 4. Visit Pick a choice, then click Troubleshoot, then More Settings. To Restore the System
Step 5. If the restoration wizard prompts you for input, enter the requested information.
Step 6. If you have a backup image, you can use it to restore your system by selecting System Image Recovery from the Advanced menu.
Step 7. With that image, the system can be brought back to life.
Solution 6: Safe Mode Uninstallation of Recently Installed Software
If none of these solutions work, you may always try removing any new programmes you’ve installed. Use Safe Mode to carry out the procedure.
The “Getting Windows ready” problem could be the result of persistent background processes, such as those initiated by antivirus or CPU-scanning programmes.
Conclusion
In the end, the “Getting Windows ready stuck” error should go away. You can let us know in the comments if you’re still having trouble with this.


