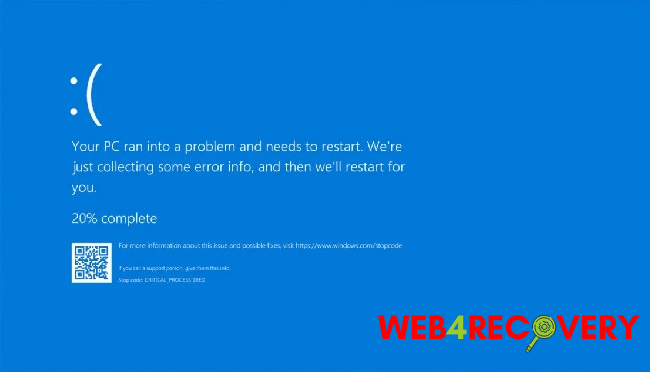
One of the most unnerving sights for any Windows user is the Blue Screen of Death (BSOD). It signifies a serious system crash, which often occurs without warning and with little explanation.
However, the error message encoded in these blue screens can often provide clues to the problem’s root cause. This guide will discuss how to find, view, and interpret blue screen logs, specifically focusing on Windows 10 and Windows 7 operating systems.

What are Blue Screen Logs?
Blue Screen logs, also known as crash dumps, are diagnostic tools that Windows generates when your system encounters a serious error.
These logs are invaluable when troubleshooting your computer as they provide detailed reports on what your system was doing at the time of the crash, potentially pinpointing the culprit that led to the crash.
Blue Screen Logs in Windows 10: Find and View with Event Viewer
In Windows 10, the easiest way to access these logs is through the Event Viewer, a built-in tool that presents a consolidated and organized view of event logs.
Here’s how you can use the Event Viewer to find and view BSOD logs:
- Open the Start Menu and type “Event Viewer,” then click on the application to open it.
- In the Event Viewer, navigate to “Windows Logs” on the left pane, then click on “System.”
- To filter the specific events related to BSOD, click on “Filter Current Log…” on the right pane.
- In the new window, under the “Event sources” dropdown, select “BugCheck”. Also, ensure the ‘Critical’, ‘Warning’, and ‘Error’ boxes are checked under ‘Event level’.
- Click “OK” to apply the filter.
Now you should see a list of events that have caused BSODs on your system. Clicking on any of these events will provide more detailed information about the issue, including the specific error code and possible reasons for the crash.
Blue Screen Logs Location in Windows 10
By default, Windows 10 stores BSOD logs in the following location:
C:\Windows\Minidump
Each log is stored as a separate file, with the most recent crash log being the last file in the list. You can use a program like BlueScreenView to open and read these minidump files.
Blue Screen Logs in Windows 7
Finding BSOD logs in Windows 7 follows a similar process:
- Click on the Start Menu and type “Event Viewer,” then click on the application to open it.
- In the Event Viewer, navigate to “Windows Logs” on the left pane, then click on “System.”
- Click on “Filter Current Log…” on the right pane.
- In the new window, under the “Event sources” dropdown, select “BugCheck”. Ensure the ‘Critical’, ‘Warning’, and ‘Error’ boxes are checked under ‘Event level’.
- Click “OK” to apply the filter.
Again, clicking on any of these events will provide more detailed information about the error that caused the BSOD.
Blue Screen Logs Location in Windows 7
Windows 7 stores the minidump files, or BSOD logs, in the same location as Windows 10:
C:\Windows\Minidump
Remember, understanding the cause of BSODs can be technical and sometimes complex. However, with the right tools and a bit of patience, you can often diagnose the issue and take steps to prevent further crashes.
Remember that keeping your system and software up to date, and maintaining your hardware, can prevent many common causes of BSODs. If you continue to experience crashes, don’t hesitate to consult with a professional or seek help from online communities and forums.
Analyzing the BSOD Log Files
The bug check code you see when a BSOD occurs is your key to understanding the problem. Each bug check code corresponds to a specific error.
You can find a comprehensive list of these codes on the Microsoft Developer Network (MSDN) website. This bug check code, along with the other parameters displayed on the blue screen, is saved in the crash dump file.
To analyze these files, you can use the Windows Debugging Tools. Here’s how you can install and use these tools:
- Download and install the Windows Software Development Kit (SDK) from Microsoft’s official website. During installation, only select “Debugging Tools for Windows.”
- Once installed, navigate to the installation directory and launch WinDbg.
- Click on “File” then “Open Crash Dump”, then navigate to your minidump folder (
C:\Windows\Minidump). - Select the minidump file you want to analyze and click “Open”.
WinDbg will then load the minidump file and provide a detailed analysis of the crash, including the cause of the crash and any drivers that may have been involved.
Conclusion
While the Blue Screen of Death can be daunting, the tools and methods to analyze them have been made accessible and straightforward by Microsoft.
By understanding how to locate and analyze the blue screen logs in Windows 10 and Windows 7, you can take active steps towards troubleshooting the issues plaguing your system.
However, as always, ensure that you keep your system updated and maintain good practices to prevent future blue screens.


