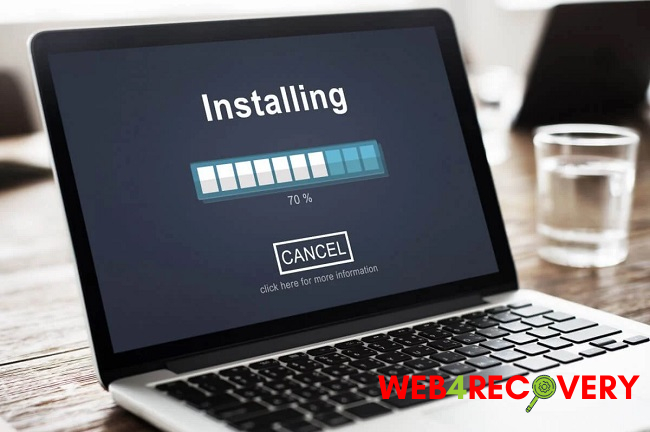
Upgrading to a new operating system or installing a new version of your current OS isn’t always a smooth process, and you may encounter a number of issues along the route. Windows Could Not Complete the Installation is one such problem.
This happens frequently on Windows 10 PCs when users attempt to manually install updates, but it can also occur while upgrading from an earlier version of Windows to Windows 10.
In this post, we’ll look at some of the most promising approaches to this problem and explain how to put them to use.
Method 1: Making Do With the Mistake
In rare cases, the installer file can be run normally, bypassing the error message altogether if the problem is the result of a bug. Users who prefer to update or upgrade their PC using a removable media such as a DVD or USB can use this method.
To begin recovering your computer and installing the latest updates and upgrades, we will first need to generate a bootable USB or DVD with Windows 10 on it. The Media Creation Tool makes it simple to make a UEFI-compatible bootable USB drive.
- Microsoft’s Media Creation Tool is available for download on the company’s website. After downloading the MediaCreationTool.exe file, simply double-click it to begin using the programme. Activate the Accept button.
- On the initial tool screen, click the button labelled “Create installation media (USB flash drive, DVD, or ISO file) for another PC.”
- If the computer you intend to use the USB with has a different language, architecture, or edition than the one you have, you can change the settings by deselecting Use the suggested options for this PC.
- When prompted to select a storage medium, select the USB flash drive and then click Next.
- When prompted, select the detachable drive from the list of available storage options.
- In order to build bootable media that can be used to install Windows 10 on both legacy BIOS and UEFI machines, the Media Creation Tool must first download the necessary files.
A bootable USB can be used to start your computer once you’ve finished making one. We opted for a bootable USB drive instead of a DVD because it’s less of a pain and you won’t need to buy a double layer disc.
- If you get the problem on a PC and the storage device is still connected, you can open a Command Prompt window by using the Shift + F10 keys.
- Then you may put in the DVD or USB you made into a portable Windows 10 installation media and wait for it to be recognised.
- To access the D: partition, press the [ENTER] key and then type [SETUP] to launch the installation. It’s possible that your portable USB drive’s letter is D:, although this will vary from computer to computer.
Method 2: Ingenious Fix for New Businesses
Weird as it may sound, this technique appears to successfully mislead Windows into routinely installing its components. You can try this out if you’re having trouble with the current update installation. You won’t be making any modifications to your computer, so there’s nothing to lose if it doesn’t work.
- Repeatedly power cycling your computer should get you a prompt to access the Advanced Recovery menu. Select Troubleshoot and then Reset your PC from the Choose an option menu.
- Select “Keep my files,” then “Cancel” at the next prompt, and “Cancel” again at the Choose an option screen until you reach the Continue prompt.
- Whether you are still having problems with the same installation, check to see if it has been updated.
Method 3: Attention AMD Users Running Windows 10 Version 1709
Microsoft issued this as an official answer to the issue of AMD users with the aforementioned version of Windows 10 being unable to install or receive updates. The majority of affected customers report that applying the Microsoft update released for these situations was all that was necessary to rectify the situation.
- Our plan is to implement a number of patches available in the Windows Update Catalog. With this download, you may quickly and easily update your PC with various necessary fixes. If you want to find it, use this Knowledge Base number: KB4073290.
- Launch your search in the Microsoft Update Catalog by clicking the icon labelled “Search.”
- Just select your PC’s architecture from the drop-down menu next to the Download button on the left to get started (32bit or 64bit). Before selecting this option, be sure you understand your computer’s processing architecture.
- To finish the update, run the file you downloaded and carefully follow the on-screen instructions. Follow the same procedure for both required files.
- Restart your computer after the update is complete and then attempt to re-run the installation that gave you trouble. Try recreating the problem and check if it still happens.
Method 4: Alter the BIOS Settings
You shouldn’t mess around with the BIOS unless absolutely necessary; otherwise, you could end up bricking your computer. Microsoft has recommended that all users update their BIOS firmware to the most recent version before applying updates, as this problem can arise on computers with an out-of-date BIOS.
Users have reported that after updating the BIOS, they were able to continue with Windows Setup without encountering this specific error message.
- Type msinfo into the Search box in the Start menu to view the version of the BIOS that is currently installed on your machine.
- Look for the BIOS version number beneath your processor model and record it somewhere permanent like a text file or a piece of paper.
- If you bought your computer’s parts separately, you’ll know if it was packed, pre-built, or completed by hand. You shouldn’t overwrite the BIOS on your PC’s various devices with a version that was designed for a different part of the machine; doing so could cause serious issues.
- You should get your machine ready for the upgrade. Make sure your laptop’s battery is fully charged and plugged in before attempting an update. An Uninterruptible Power Supply (UPS) should be used whenever updating a computer to prevent a power outage from interrupting the update process.
- Please refer to the guides we’ve compiled for popular computer brands like Lenovo, Gateway, HP, Dell, and MSI.
Method 5: Modify Extra BIOS Parameters
It’s possible that the issue persists even after updating the BIOS firmware. A common source of this error is a BIOS option that is optimal for earlier versions of Windows 7 but problematic for Windows 10.
This is only one of several possible explanations. To resolve this, please implement the procedures outlined below.
- To shut down your computer, select Start > Power > Shut down from the menu bar.
- Restart your computer and, as soon as Windows loads, hit the BIOS key to open the setup menu. On the boot screen, it will usually say “Press __ to enter Setup,” where the blank represents the BIOS key. The F1, F2, Del, Esc, and F10 keys are frequently used to access the BIOS. Keep in mind that the message will disappear really quickly, so you’ll have to act swiftly.
- There is no standardised method for locating the SATA setting that needs to be modified; rather, it can be found in a variety of places within the various menus of the BIOS firmware tools provided by various manufacturers. It could be in the section labelled “Advanced,” “Onboard devices,” or “Integrated Peripherals.” In any case, the function in question is referred to as SATA operation.
- Once you find it, toggle it from AHCI or RAID to ATA. When it comes to updating or upgrading, ATA is your best bet. Select Exit Saving Changes from the menu labelled “Exit.” The kicking process will continue now. Remember to re-run the update if necessary.
- When you’re done, make sure to revert the settings to their original values.


 Error")


