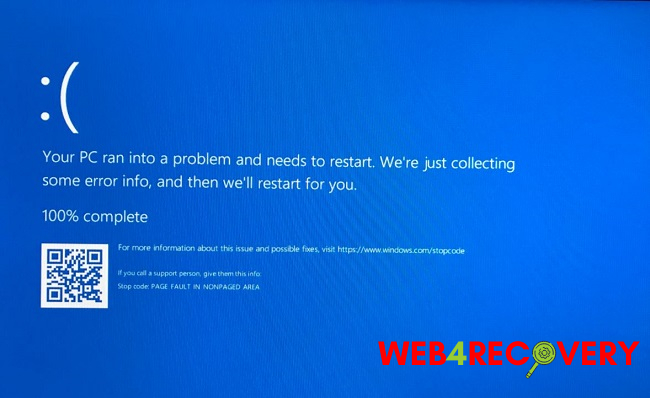
The Blue Screen of Death, or Page Fault in Nonpaged Area, is an error message that appears on a computer screen (BSOD). This happens when Windows is unable to locate a required section of data in the RAM and consequently reboots your machine to prevent any more damage.
The information it needs is now located in a page file, which can be either RAM or the space on your hard drive that is temporarily serving as RAM (called page file). Both of these scenarios are addressed in this manual.
Method 1: Remake the Page Document
Windows makes use of your hard drive’s storage capacity to speed up your computer. This is done by making use of a page file, which is accessed when needed, to provide quick access to frequently used applications.
To fix the issue, try turning off the page file. Method: While holding the Windows key, press the letter R. To launch SystemPropertiesAdvanced.exe, copy and paste its location into the run prompt, then hit Enter.
Navigate to the System Properties > Advanced > Performance > Settings menu item. Then, select Advanced once more in the new window that appears. Do not choose Automatically manage paging file size for all discs.
Set the paging file option to Off. Once any cautionary messages appear, click Set. To dismiss all open windows, press the OK buttons three times quickly. It’s time for a system restart.
To return to Virtual Memory after a system restart, just follow the instructions given above. After that, choose System managed size and press the Set button. Mark the top box labelled Automatically manage paging file size for all discs.
To exit all open windows and restart your computer, click OK, OK, OK. Now is the time to get rid of any bad page file sections. If the Blue Screen of Death (BSOD) still appears, try the next option.
Method 2: Chkdsk /r
If you have any file system issues, Windows has a built-in programme called Chkdsk that can help you find them and correct them.
- Simply press the “Start” button, then “cmd,” and then “Run As Administrator”
- To repair the disc, press Enter after typing chkdsk /f /r.
- Go ahead and start it up. You should type Y and hit Enter if prompted with “The drive is locked and if you would like to schedule a chkdsk on the next restart, key in Y for yes.”
Turn the machine back on and let chkdsk do its thing. Any mistakes it identifies will be repaired mechanically. If the problem persists, try Solution 3.
Carry out a System Restore
- Keep pressing Windows + R.
- Just hit “Enter” after entering “rstrui.exe” in the run box.
Selecting “Recommended Restore” as the default option. If you want to see more restore points, select Show More Restore Points; however, you should focus on the date/time of the restore point when the system was running properly, which could be a month or days ago.
If there are no restore points, you can ignore this option and create one when the problem has been fixed.
To proceed, select Next > Finish. The next step is to follow the on-screen prompts to finish the system restore.
Method 3: Do a Windows Update
- Microsoft, for its part, maintains a steady stream of bug-fixing updates. Update your computer to the most recent version.
In order to support Windows 7 and 8, please:
- Type “check for updates” into the Windows search bar. To see if the search results have changed, select Check for updates. Give the computer permission to check for updates and install them automatically. Most notably, the essential and vital new features.
When using Windows 10, you should:
- To open the Run dialogue, hit the Windows Key + R. To update Windows, go to the Settings menu and enter ms-settings:windowsupdate.
- Now, make sure you install all available Windows updates.


 Error")


