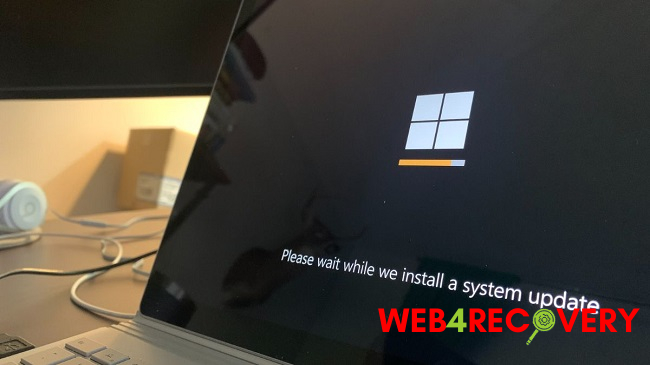
When attempting an update, some Windows 10 users are met with the error 0x80080008 and told that the installation was aborted. Users of Windows 10 Mobile have also encountered this problem.
There are numerous attestations from customers who have installed the most recent Windows 10 release that they ran across this problem.
However, after restarting, you may once again see “Service registration is missing or corrupt” or another similar error message despite having used the Windows Update troubleshooter to temporarily resolve the problem.
The update failed with error number 0x80080008, which is defined as CO E SERVER STOPPING. This occurs when the object server stops responding after being called as an OLE service.
Because to a problem with the installation of the Wups2.dll file, which is part of the most recent Windows Update release, this error has occurred. Users of Windows 10 PC and, later, Mobile will have access to our fixes for this issue.
Solution steps include registering Wups2.dll, restarting the Windows Update service, and turning on automatic updates.
Method 1: Restarting Windows Update Service
- Type cmd into the Start menu, then right-click on Command Prompt and select “Run as administrator” to open the command prompt with administrative permissions. The User Account Control popup must be accepted.
- Follow these instructions and enter them into the command prompt.
- net stop bits
- net stop wuauserv
- net start bits
- net start wuauserv
3. To see if the issue has been resolved, try running Windows Updates once more. If the problem remains after that, run the command to check and fix Windows’ component store.
DISM /Online /Cleanup-Image /RestoreHealth
Method 2: Modifying Wups2.dll’s Registration Settings
This error was caused by the module Wups2.dll. The problem should disappear after a new registration.
- Type cmd into the Start menu, then right-click on Command Prompt and choose “Run as administrator” to open the command prompt with administrative permissions. When prompted, click Accept on the UAC window.
- When prompted, type in the following commands:
- REGSVR32 WUPS2.DLL /S
- REGSVR32 WUPS.DLL /S
- REGSVR32 WUAUENG.DLL /S
- REGSVR32 WUAPI.DLL /S
- REGSVR32 WUCLTUX.DLL /S
- REGSVR32 WUWEBV.DLL /S
- REGSVR32 JSCRIPT.DLL /S
- REGSVR32 MSXML3.DLL /S
Alternatively, you can right-click on this batch file and choose “Run as Administrator” to execute it with administrative privileges.
3. Start Windows Updates again after restarting your computer to determine whether the issue persists.
Method 3: Implementing a System for Automatic Updates
If you have Automatic Updates enabled, Windows will download and install the most recent version of the Windows Update Agent without you having to do a thing. If you have turned off Automatic Updates, here’s how to turn them back on.
- Just head to the Windows Update option in the Start menu and press the Enter key.
- Edit your preferences by selecting the gear icon.
- Make sure Automatically install updates is selected under Critical updates. Select the box labelled Give me recommended updates the same way I receive crucial updates, and then press OK under the heading Recommended updates.
- To check if the issue has been resolved, try running Windows Updates once more.
Method 4: Device Restarting
Users of Windows 10 Mobile may make advantage of this technique. Since there is little to do here, I recommend restarting your device and performing a fresh scan for software updates.
The newest Windows 10 updates should be automatically downloaded and installed on your device.


 Error")


