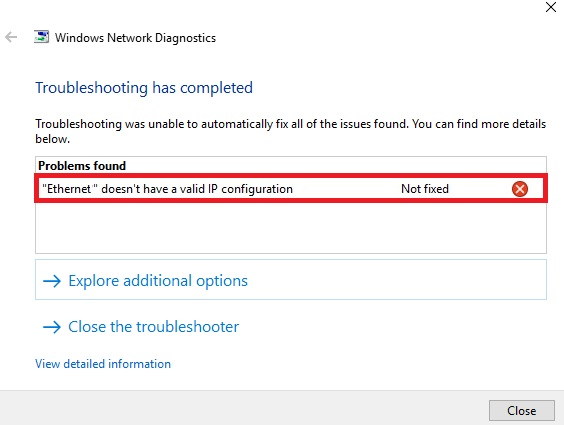
In a world with internet as a basic necessity, an error like Ethernet Doesn’t Have a Valid IP Configuration can be really annoying. Ethernet Doesn’t Have a Valid IP Configuration issue can be quite bothersome as it obstructs your internet connectivity.
There are many possible reasons triggering the issue. Some of these reasons are as follows:
- An issue with the network interface card (NIC)
- An invalid IP Address caught by DHCP
- Faulty drivers
- Faulty network configuration, etc.
How to Fix Ethernet Doesn’t Have a Valid IP Configuration?
No need to worry! Here are six quick methods with trying to fix the Ethernet Doesn’t Have a Valid IP Configuration error in your Windows 10 operating systems.
Method 1: Updating Your Network Adapter Drivers
Follow the Steps given below to update your network adapter drivers:
Step 1 – First of all, launch Windows Explorer. Then, navigate to ‘this PC’ and right click on it.
Step 2 – Now, select Properties from the drop down menu.
Step 3 – Navigate to the Device Manager option on the extreme left.
Step 4 – Then, choose your respective network adapter from the complete list of network adapters.
Step 5 – Right click on your network adapter and click on Update Driver option.
Step 6 – Make sure that you are connected to a wireless internet connection. Then, select the Search Automatically for Updated Driver Software option.
Step 7 – Wait for the process to finish. Then, restart your computer system.
Check if the ‘Windows 10 Ethernet Doesn’t Have a Valid IP Configuration’ error pops up again. If the Ethernet Doesn’t Have a Valid IP Configuration error is still prevalent, try the next method.
Method 2: Uninstalling Ethernet Driver
In case the updated driver is itself the cause for the Ethernet Doesn’t Have a Valid IP Configuration error, uninstalling it will be the best option.
Follow the Steps given below to uninstall the Ethernet driver:
Step 1 – First of all, launch Windows Explorer. Then, navigate to ‘this PC’ and right click on it.
Step 2 – Now, select Properties from the drop down menu.
Step 3 – Navigate to the Device Manager option on the extreme left.
Step 4 – Then, choose your respective network adapter from the complete list of network adapters.
Step 5 – Right click on your network adapter and click on Uninstall Device option. Then, click on OK.
Step 6 – Now, navigate to Action and select Scan for hardware Changes to reset your drivers to the default version.
Step 7 – At last, restart your computer system.
If the Ethernet Doesn’t Have a Valid IP Configuration error still pops up try the next method.
Method 3: Restoring the TCP/IP settings
Follow the Steps given below to restore TCP/IPv4 settings:
Step 1 – First of all, type ‘control panel’ in the windows search option. You can also press Windows key and R together to open the run command dialog box and then type ‘control panel’.
Step 2 – Then, press enter.
Step 3 – The control panel will pop open. Then, navigate to the ‘Network and Sharing Center’ option.
Step 4 – Now, from View choose to view all your active networks.
Step 5 – Now, click on the Connections option next to the network you want to fix.
Step 6 – Then, select Properties and click on Install option.
Step 7 – Now, choose Protocol and click on the Add option.
Step 8 – Select a Reliable Multicast Protocol option from the available list of options and click OK.
Step 9 – Finally, restart your computer system.
Check for the error again. If the issue is still prevalent, try the next method.
Method 4: Configure TCP/IPv4 Settings
Follow the Steps given below to configure TCP/IPv4 settings:
Step 1 – First of all, type Control Panel in the windows search option. You can also press Windows key and R together to open the run command dialog box and then type ‘control panel’.
Step 2 – Then, press enter.
Step 3 – The control panel will pop open. Then, navigate to the ‘Network and Sharing Center’ option.
Step 4 – Now, from View choose to view all your active networks.
Step 5 – Now, click on the Connections option next to the network you want to fix.
Step 6 – Then, select Properties.
Step 7 – Now, in the This Connection Uses the Following Items head select the Internet Protocol Version 4 (TCP/IPv4) option.
Step 8 – Then, select the Properties option and check the Obtain an IP Address Automatically and Obtain DNS Server Address Automatically options.
Step 9 – Finally, restart your computer system.
Check if the issue is still prevalent. If the error pops up again try the next method.
Method 5: Disable and enable your Network adapter
Follow the Steps given below to disable and enable your network adapter:
Step 1- First of all, type Control Panel in the windows search option. You can also press Windows key and R together to open the run command dialog box and then type ‘control panel’.
Step 2 – Then, press enter.
Step 3 – The control panel will pop open. Then, navigate to the Network and Sharing Center option.
Step 4 – Now, from View choose to view all your active networks.
Step 5 – Now, click on the Connections option next to the network you want to fix.
Step 6 – Then, choose the Disable option to disable your network interface card (or NIC).
Step 7 – After a few minutes right-click on it again and select the Enable option.
Step 8 – Finally, restart your computer system.
If the error pops up again try the next method.
Method 6: Updating your BIOS
Use this option as a method of last resort. It is because any errors in the BIOS update procedure can lead to non-functioning of your motherboard and other hardware issues. Thus, it is recommended to be applied by advanced users only.
There are different update procedures followed by various systems. In case, you decide to update your BIOS, check for the respective method. You can also try updating the router or modem’s firmware. They can be updated directly from their respective official driver websites.
Conclusion
Hopefully, one of the methods mentioned above was able to fix the Ethernet Doesn’t Have a Valid IP Configuration error for you.
Other than the above mentioned methods, you can try some troubleshooting tricks like restarting any modems or routers, unplugging and plugging back any connection cables, etc.
In case none of the methods were able to fix the Ethernet Doesn’t Have a Valid IP Configuration error, there is a possibility of faulty Network Interface Card. In this case, professional intervention is strongly recommended. It is a hardware fault that requires technical diagnostics to replace Network Interface Card.


 Error")


